Learning about MongoDB
So the other day I started going through Michael Kennedy's free MongoDB Quickstart course. Although he covered the Python code portions, he left getting everything setup, up to you. If you're on a Linux machine that uses APT, then keep on reading.
Getting MongoDB
I could have gone over to MongoDB's download page, and selected the correct version for my setup, but I wanted to stick with the package manager on my machine. The latest version as of this writing was 4.2. The first thing I had to do was find their public key and import it to APT.
Importing MongoDB's security key
To make sure that I had the required gnupg package installed, I ran the following command: sudo apt-get install gnupg.
Once that was taken care off, I imported the key:
wget -qO - https://www.mongodb.org/static/pgp/server-4.2.asc | sudo apt-key add -
Creating a new source for APT
The next thing I did was to find the codename for my system's release.
I did that with the following command: grep -i /etc/os-release
VERSION_CODENAME=tricia
UBUNTU_CODENAME=bionic
There it was.
My Linux Mint system is based on bionic.
Now to create an entry for MongoDB in APT's source list directory /etc/apt/sources.list.d/, I created mongodb-org.4.2.list with the following content:
deb [arch=amd64] https://repo.mongodb.org/apt/ubuntu bionic/mongodb-org/4.2 multiverse
I had to look at other entries in there until I got the format correct. Don't worry, if you get it wrong, it will let you know when you try to do an update!
Update APT
At this point it was time to update APT and install mongoDB:
sudo apt-get update
sudo apt-get install -y mongodb-org
Starting MongoDB
Once everything was installed, it was time to fire up the service so that I could connect to it.
sudo systemctl start mongod
Now, that command will start the server for this session only. Which means that the next time that I reboot, I will have to start it again. I wanted the service to always be available, so I did the following:
sudo systemctl enable mongod.service
sudo systemctl daemon-reload
sudo systemctl restart mongod.service
To verify that it was running, I used this command: systemctl status mongod
● mongod.service - MongoDB Database Server
   Loaded: loaded (/lib/systemd/system/mongod.service; enabled; vendor preset: e
   Active: active (running) since Fri 2020-03-06 20:35:16 CST; 12s ago
     Docs: https://docs.mongodb.org/manual
 Main PID: 8569 (mongod)
   CGroup: /system.slice/mongod.service
           └─8569 /usr/bin/mongod --config /etc/mongod.conf

Mar 06 20:35:16 SERENiTY systemd[1]: Started MongoDB Database Server.
If you want the server to restart after a crash, you would need to add Restart=always under the [Service] section of /lib/systemd/system/mongod.service.
I didn't add that.
At this point, a reboot would be useful to make sure that it starts up at boot.
If you decide that you don't want it running all of the time, just disable it.
sudo systemctl stop mongod
sudo systemctl disable mongod
Installing Robo 3T
Michael recommended Robo 3t so I decided to give it a try.
I went to their download page and selected the linux version.
My connection at home is terrible, so I try not to download anything through the browser.
I copied the link and used wget instead.
cd ~/Downloads
wget -c https://download-test.robomongo.org/linux/robo3t-1.3.1-linux-x86_64-7419c406.tar.gz
Once it had finished downloading, I extracted the file to my home directory:
mkdir ~/robo3t
tar -xvzf robo3t-1.3.1-linux-x86_64-7419c406.tar.gz -C ~/robo3t
Adding a custom menu entry
I like to add all of my programs to the "start" menu, so I then did the following:
cd ~/robo3t
wget https://robomongo.org/static/robomongo-128x128-129df2f1.png -O robomongo.png
ln -s robo3t-1.3.1-linux-x86_64-7419c406/bin/robo3t robo3t
-
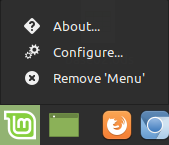
Right-click the Mint start button

-
Click on Configure...
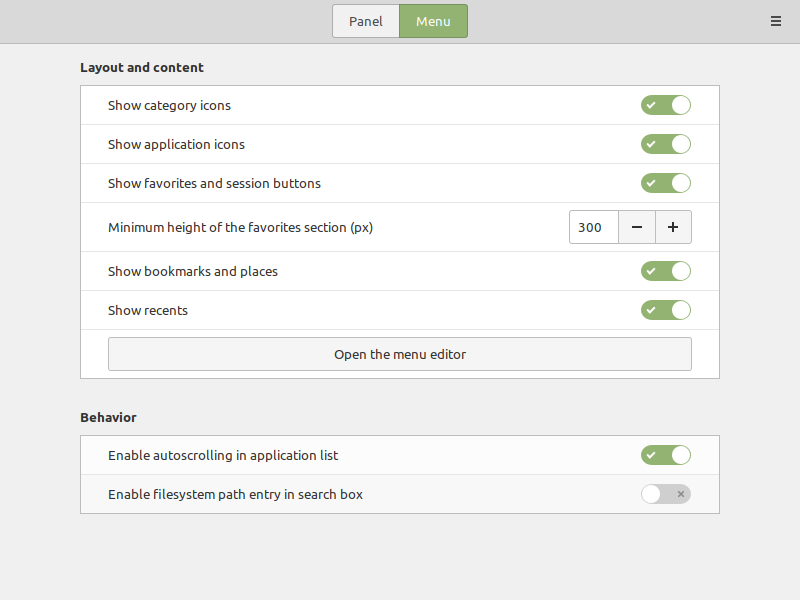
-
Click on the Menu button from the dialog window and then click on Open the menu editor
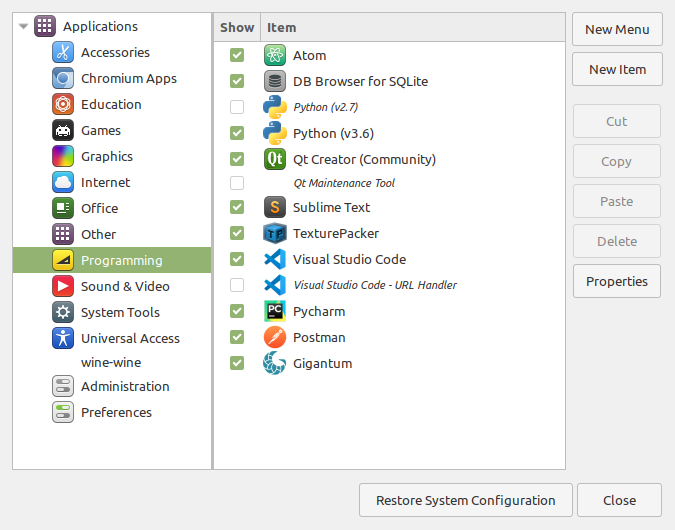
-
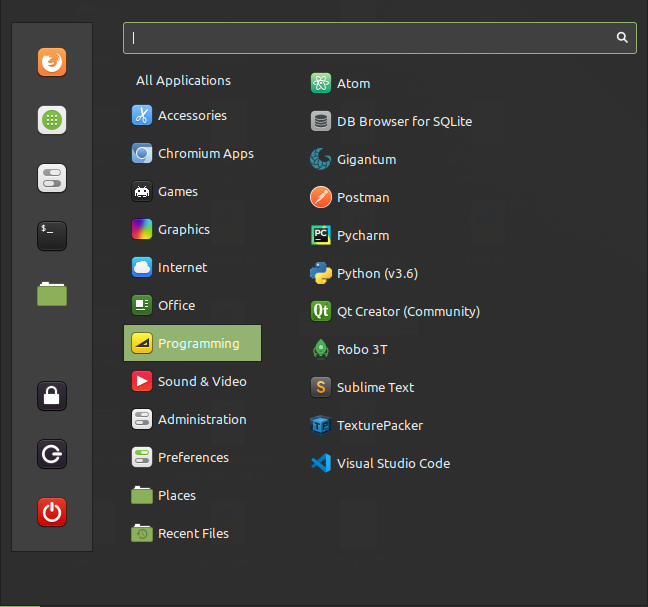
From the Main Menu widget, click on the Programming section and then click on the New Item button
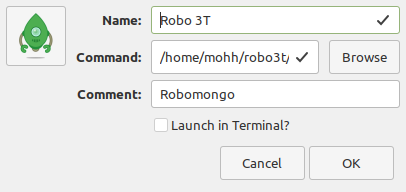
- Fill in the Launcher Properties.
- Select the
robomongo.pngimage that we downloaded previously. - Give it a Name, Robo 3T.
- For the Command select the symlink that we created previously.
- Enter whatever you want under Comment and click OK.
-
Close all of the open dialogs.
-
Admire you're awesomeness
Before you can start using Robo 3T, you will have to get to the point of the tutorial where you add a user.
Once you've made an entry, go ahead and start it Robo 3T. You will be presented with a MongoDB Connections dialog. Click on the Create link to open up the Connection Settings dialog.
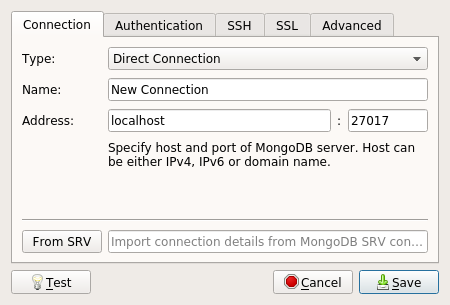
For the Name enter snake_bnb, the name of the database that was created in the tutorial and Save.
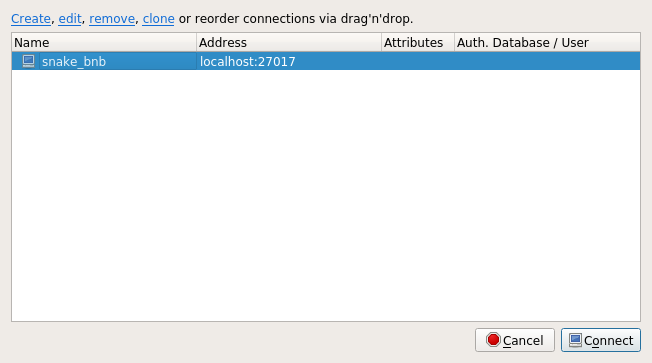
Click on the Connect button to access it.
Conclusion
Quite a few steps to get here, but now I am setup and ready to continue on with the course and hopefully you will be too!